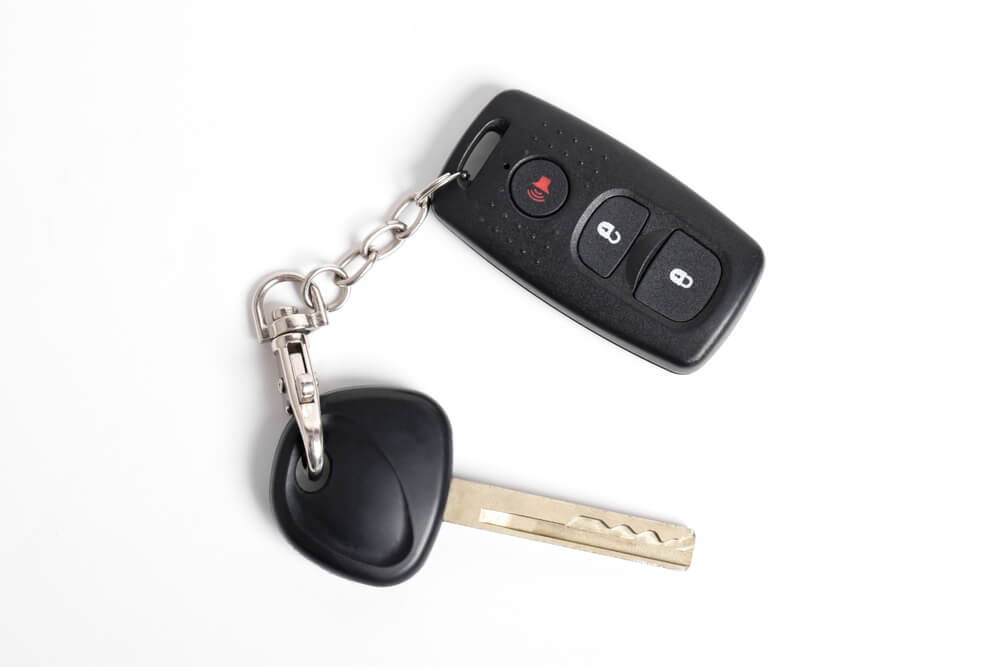
It’s a common scenario: your Honda key fob stops working after a recent battery change, and you’re left pressing the buttons with no response. Panic sets in as you try to figure out what went wrong. Fortunately, the solution is simpler than you might think. In this guide, we’ll walk you through how to reprogram your Honda key fob after a battery replacement, ensuring you’re never stranded again.
Why Is Reprogramming Necessary?
When you replace the battery in your Honda key fob, it’s common for the fob to lose its connection to your vehicle. This disconnection happens because the key fob and the car’s receiver need to re-establish their communication link. Without this crucial step, your key fob won’t function properly, leaving you unable to lock, unlock, or start your car.
Signs Your Key Fob Needs Reprogramming
Several indicators suggest that your key fob needs to be reprogrammed. These signs include unresponsive buttons, inability to start the car, or the car not recognizing the key fob. If you experience any of these issues after changing the battery, it’s time to reprogram your Honda key fob.
Step-by-Step Guide to Reprogram Honda Key Fob After Battery Replacement
Materials Needed
- Your Honda vehicle
- The key fob with a new battery installed
- Any other key fobs you use with the vehicle (if applicable)
Step 1: Enter Your Vehicle
Start by sitting in the driver’s seat of your Honda vehicle. Close all doors to ensure the reprogramming process is not interrupted.
Step 2: Turn on the Ignition
Insert your key into the ignition and turn it to the “ON” position. This position is typically just before the engine starts. Do not start the engine.
Step 3: Press the Lock Button
Within five seconds of turning the ignition to the “ON” position, press the “LOCK” button on your key fob. This action will initiate the reprogramming mode.
Step 4: Cycle the Ignition
Turn the key back to the “OFF” position and then to the “ON” position again. Repeat this cycle two more times, for a total of three “ON” positions.
Step 5: Finalize the Programming
After the third cycle, press the “LOCK” button on your key fob once more. You should hear the door locks cycle, indicating that the key fob has been successfully reprogrammed.
Step 6: Test Your Key Fob
Turn off the ignition and remove the key. Test your key fob to ensure it’s functioning correctly by locking and unlocking the doors and starting the car.
Troubleshooting Common Issues
If Your Key Fob Doesn’t Respond
If your Honda key fob doesn’t respond after following the reprogramming steps, don’t worry. Here are a few things you can try:
- Check the Battery: Ensure the battery is correctly installed and has a good charge.
- Repeat the Steps: Sometimes, the process needs to be repeated to establish a connection.
- Consult Your Manual: Your vehicle’s manual may have specific instructions tailored to your model.
Reprogramming Multiple Key Fobs
If you have more than one key fob, you’ll need to reprogram them all at the same time. After programming the first key fob, proceed to the next one without turning off the ignition. Follow the same steps, pressing the “LOCK” button on each key fob you need to reprogram.
Maintaining Your Honda Key Fob
Regular Battery Checks
To avoid future reprogramming needs, regularly check your key fob’s battery. A weak battery can cause intermittent issues and eventually lead to a complete failure.
Keep Your Key Fob Clean
Dirt and grime can affect the functionality of your key fob. Keep it clean by wiping it with a soft cloth and avoiding exposure to moisture.
Safe Storage
Store your key fob in a safe place, away from heavy impacts or extreme temperatures, which can damage the internal components.
Conclusion

Knowing how to reprogram your Honda key fob after a battery replacement is a valuable skill that can save you time and stress. With these simple steps, you’ll ensure that your key fob is always ready to go, keeping your Honda secure and accessible. If you encounter any issues or need professional assistance, contact Legacy Autoworx today.


